Creating an H5P Course Presentation activity
With the H5P Course Presentation tool, you can create and present asynchronous educational material to your students with slides that incorporate multimedia and interactive features.
This format enables you to assemble your course material in a dynamic and interactive way. Students can navigate through the slides, engaging with embedded quizzes and videos as they go. It's an effective alternative to traditional methods like PowerPoint slides, PDFs, or standard text-heavy web pages.
Why?
The H5P Course Presentation allows educators to create and present content in an engaging way, consistent with Active Learning principles. The Course Presentation can also be used for formative tasks to provide students with opportunities for self-assessment and consolidation of knowledge.
Exportable Text Areas in a H5P Course Presentation also offer a unique opportunity for students to engage with your content. These text areas can be embedded throughout the presentation, allowing students to record their reflections, ideas, notes, and answers to questions as they interact with it. Anything the student inputs in these fields will be collated into an individual summary that they can download as a Word document.
Preview an example H5P Course Presentation that includes Fill in the Blanks, Video, and Multiple Choice questions.
How?
Click on the headings below to expand/collapse the sections.
This section outlines the steps to create a Course Presentation H5P activity.
- Ensure Edit mode is on.
- Click the Add content (+) button at the bottom of the section, or around existing activities and resources by hovering over the dotted line that separates them.

- Select Activity or resource from the dropdown menu.

- Select Interactive Content from the Add an activity or resource chooser.

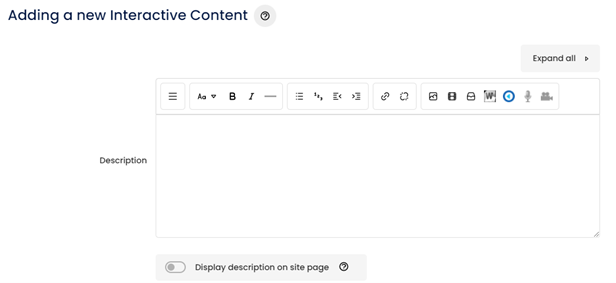
- (Optional) Add a Description to the activity. Ensure Display description on site page is enabled if a description is added.
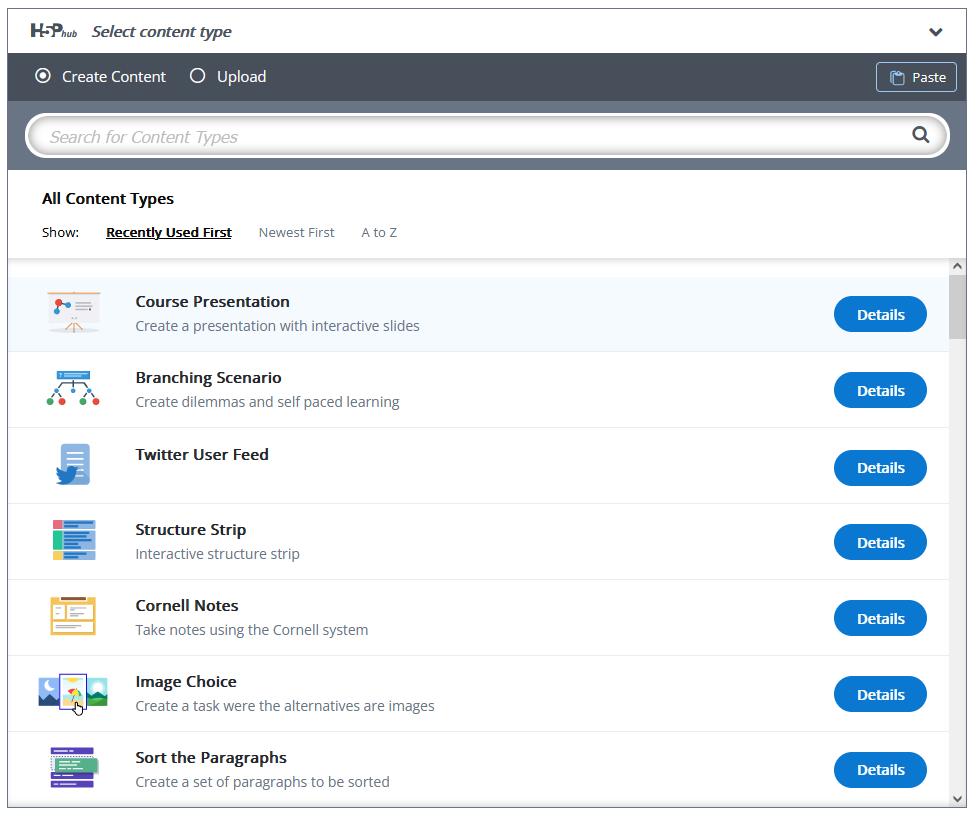
- Select Course Presentation from the Select content type menu.
- The Course Presentation editor will open. Add a meaningful name for your activity in the Title text field.
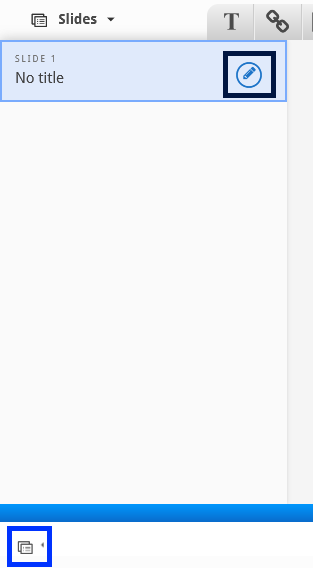
- Click Slides to open the Slides panel, then click Edit to add a title to the slide.
- Click Image to add an image to a slide. To create a UOW-style Course Presentation, you can utilise assets from the UOW Office Kit available via the intranet.

- Click + Add and select the image you want to use.

- Enter alt text into the Alternative text field.
- (Optional) You can provide hover text – text displayed when students hover their mouse pointer over an image.
- Comments can also be added to the image that are displayed at the end of the presentation when students choose to display suggested answers.
- Click Metadata to include license information for the image.

- Resize images in the Course Presentation by clicking and dragging the lower right corner of the image.
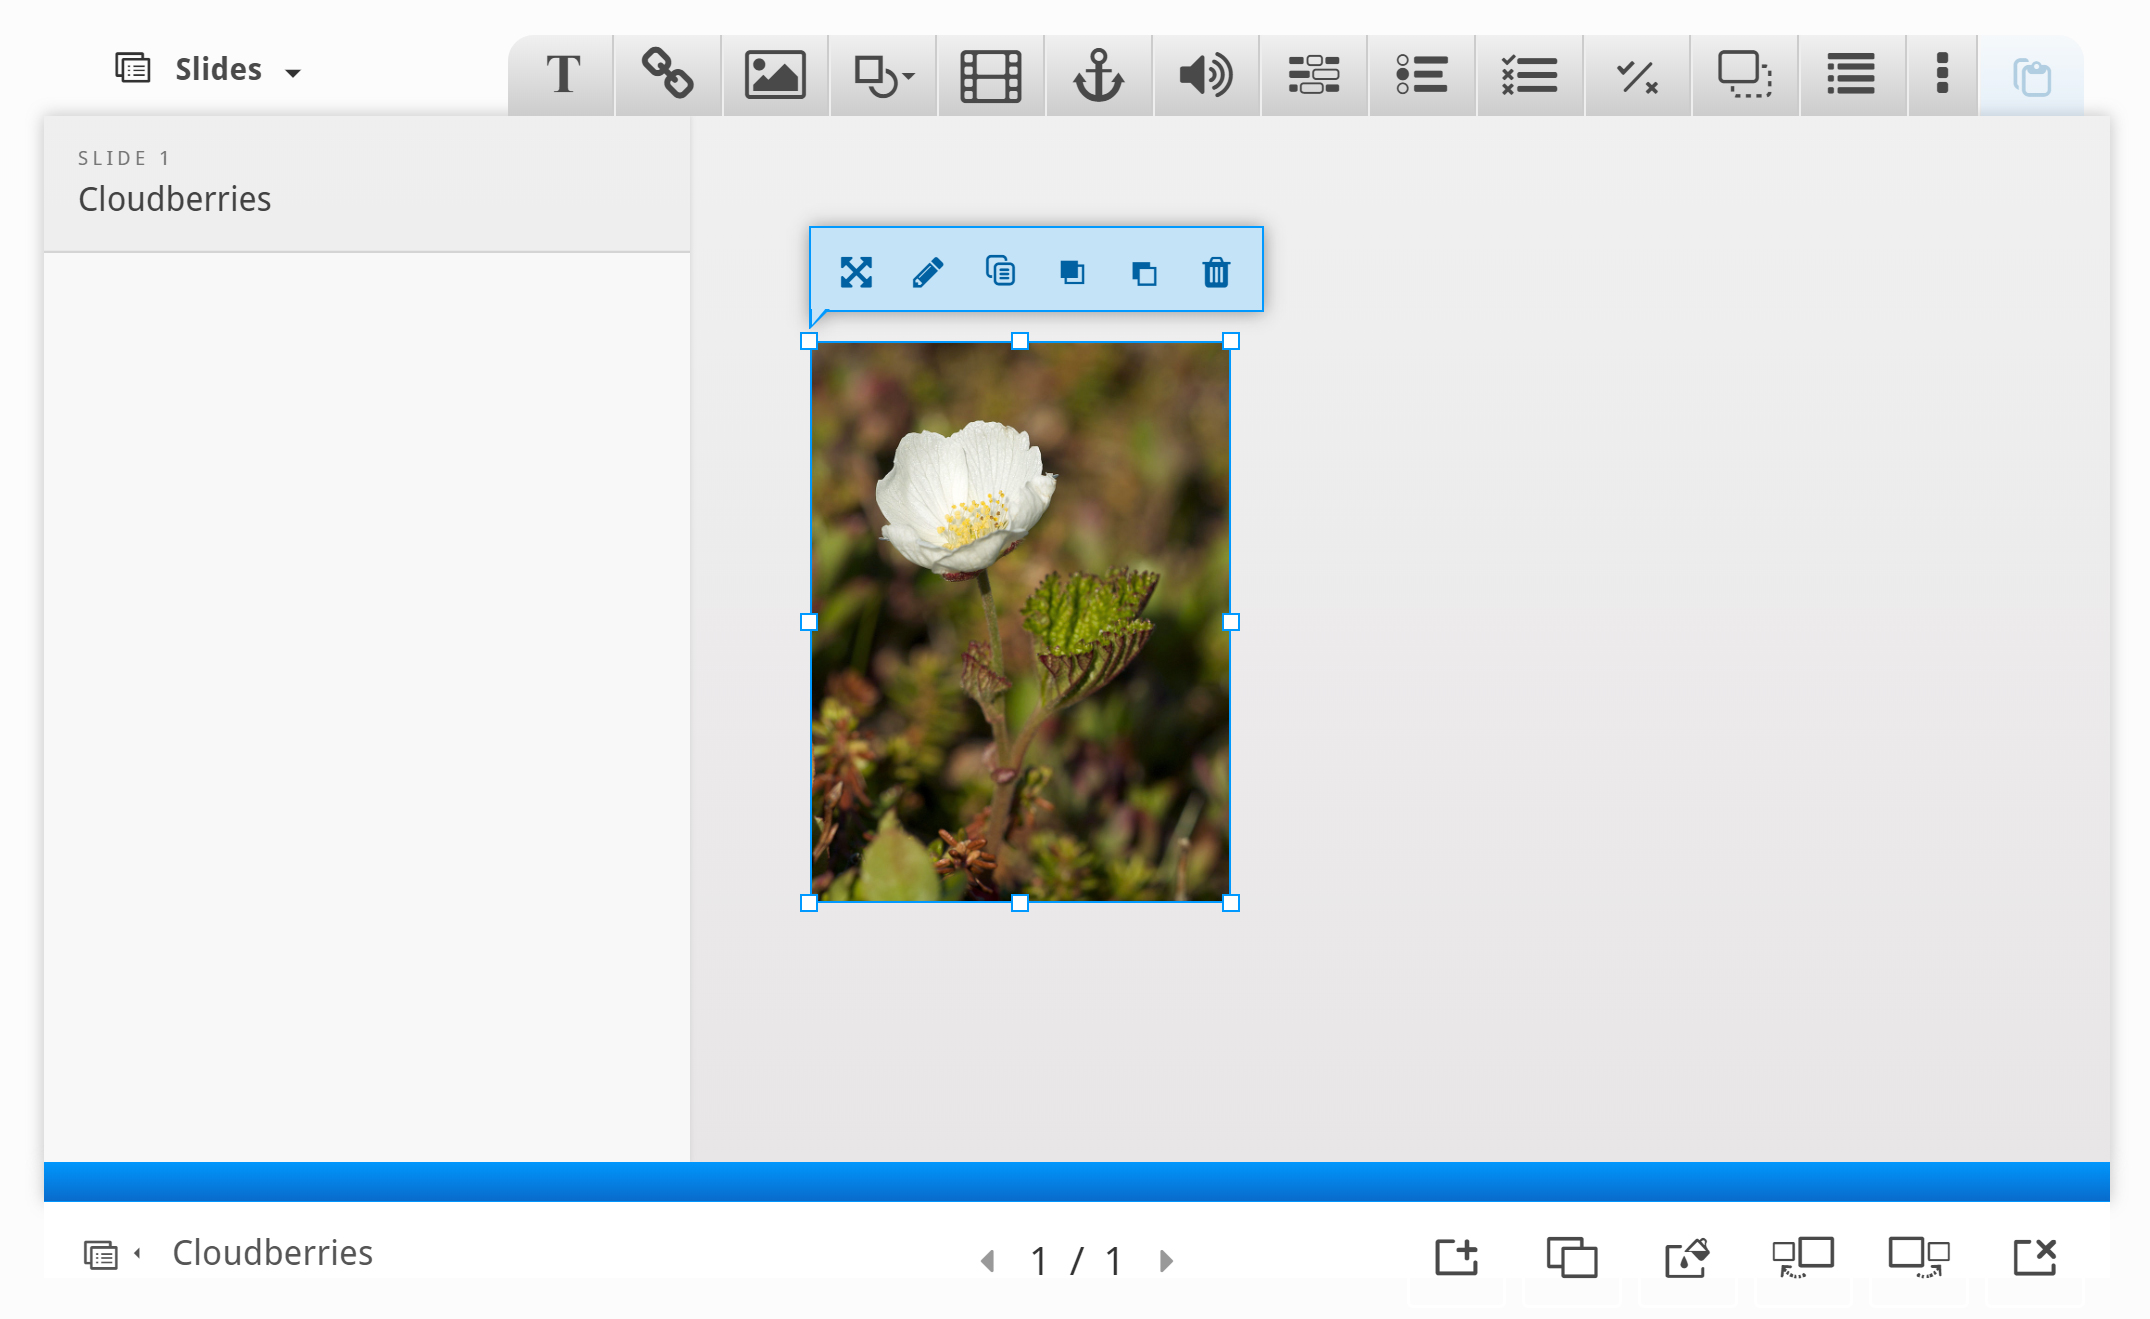
- Drag and drop the image to move it to the desired position on the slide.
- Click Text to add a text box to the slide.

- Insert text into the Edit text box.
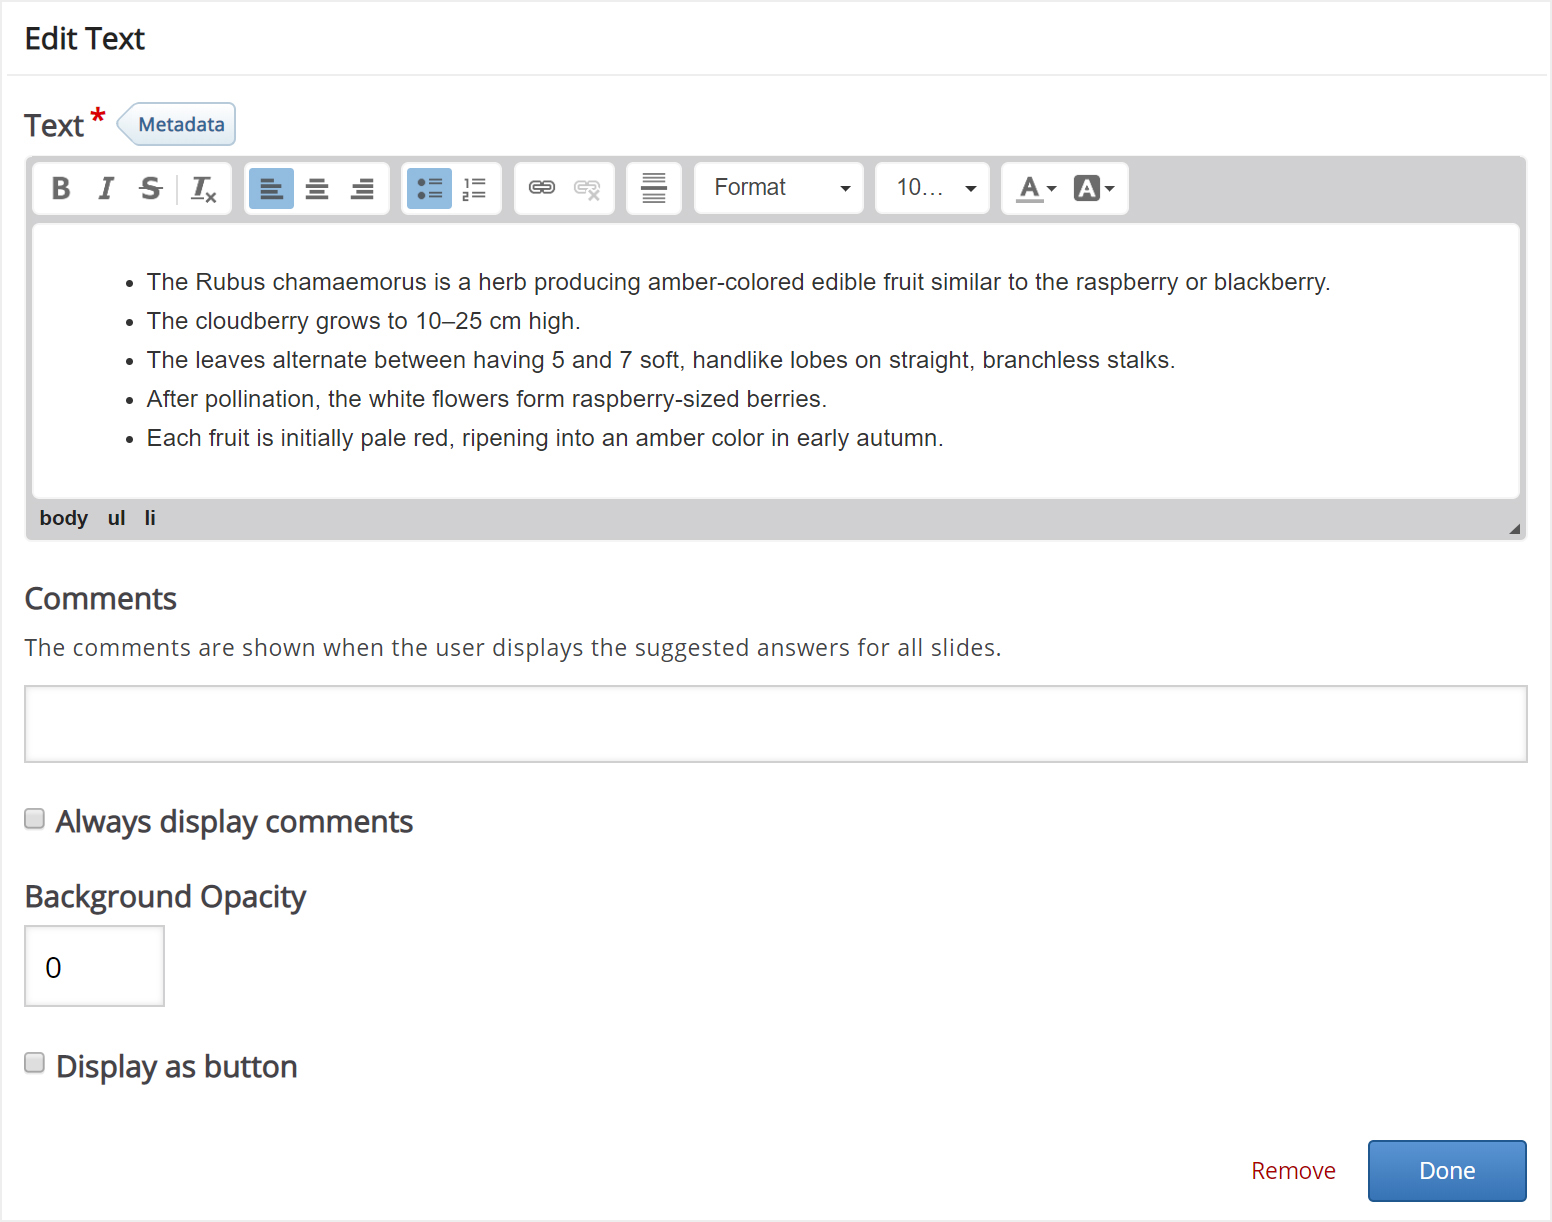
- Use the Edit text toolbar to format text.
- Comments can also be added to the text that is displayed at the end of the presentation when students choose to display suggested answers.
- Background Opacity: a 0 value means the text box will be transparent, and a 100 value means the text box will have a white background.
- Check Display as button to replace the text box with a button students click on to read the text in the pop-up.
- Insert text into the Edit text box.
- Click Add new slide to add additional slides to the presentation.

Note: You can navigate the presentation using either the Slides panel or using the navigation bar.
- To create a link, click the Link button.

- The text entered in the Title text field will be displayed on the slide.
- Enter the URL into the URL text field.
- Comments, opacity, and the ability to display the link as a button rather than text are the same as described above for images.
- To create a Summary, first add a new slide as described in Step 8, then click the Summary button.

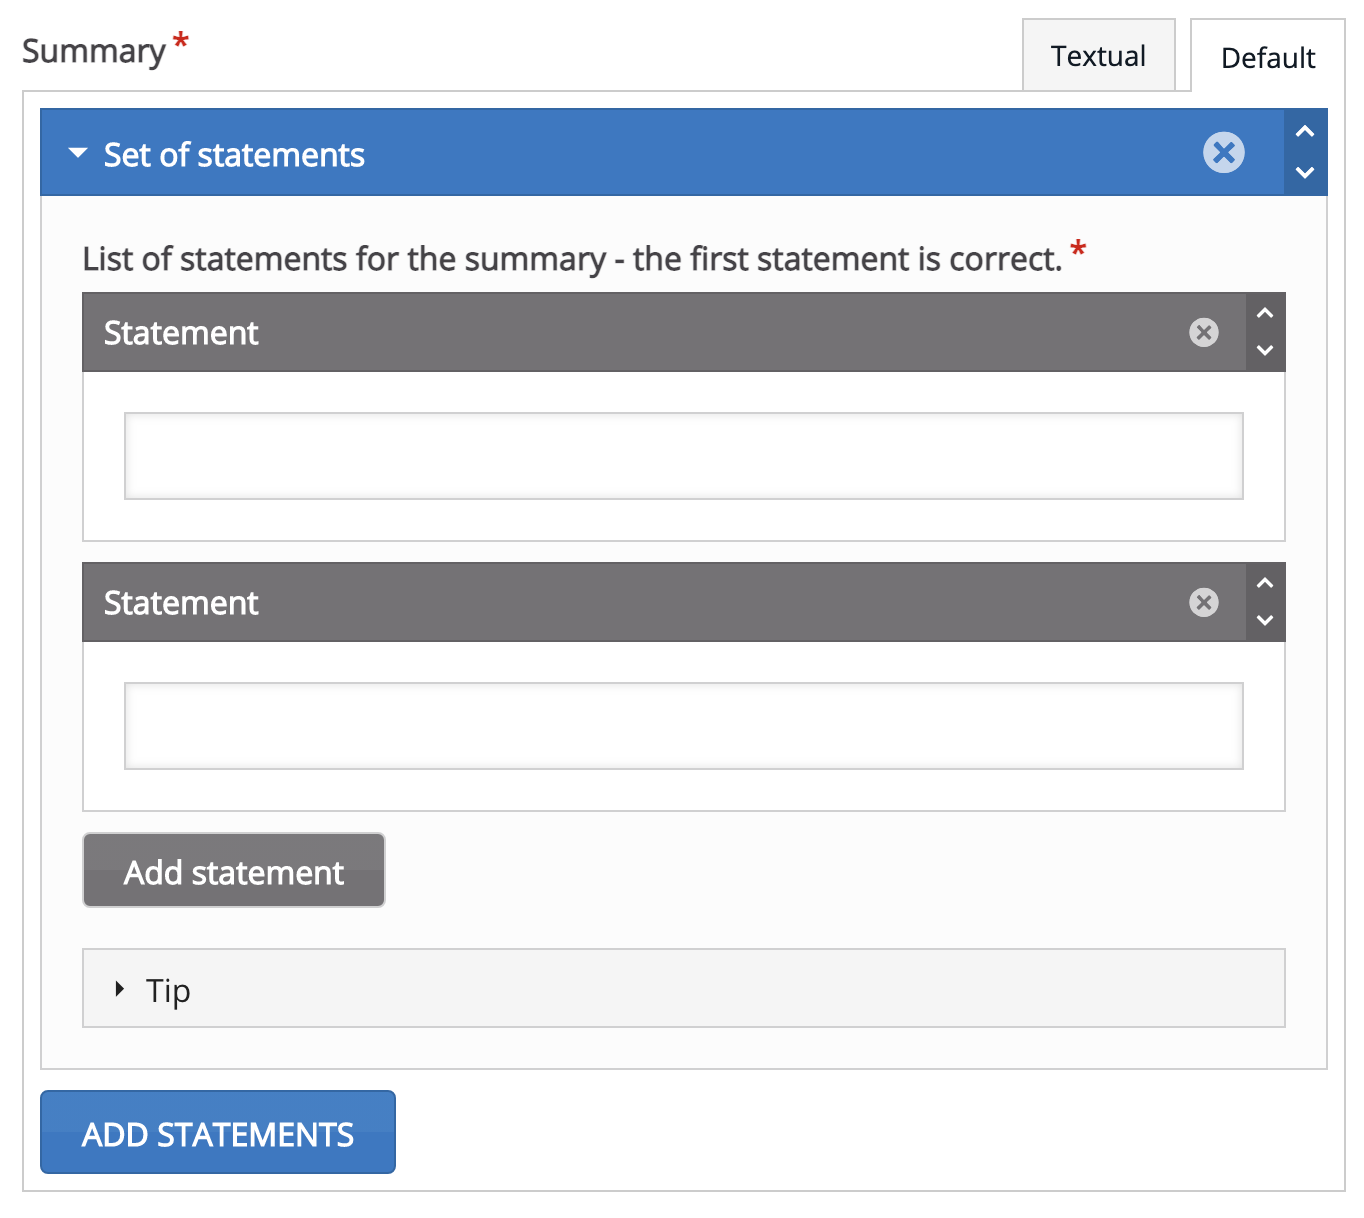
- The Summary activity allows students to make an interactive summary of the key points in the Course Presentation.
- After adding introductory text or a question, add statements that summarise the Course Presentation.
Note: The first statement is the correct statement.
The Exportable Text activity allows students to write into text fields within an H5P Course Presentation and export the collated text to a Word document.
You can include prompts for the students in the text boxes, as well as generic automated feedback in the exported document.
Some potential use cases include:
- Summarising the subject material in the student's own words for note-taking,
- Reflecting on stimulus,
- Writing pre- and post-evaluations on perspectives prior to engaging in another activity, e.g. prior to and after completing a module,
- Drafting components of essays with integrated feedback.
With the ability to export the file as a Word document, students can easily upload the document to a Moodle Assignment for marking. Students can edit the Word document, once downloaded, as with any other Word document.
Steps for Creating an Exportable Text Activity
To create an Exportable Text activity in the H5P Course Presentation:
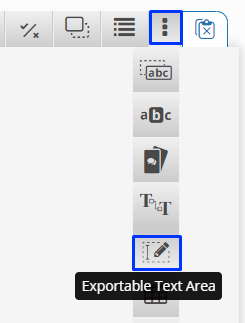
- From the H5P Course Presentation, click More elements (three vertical dots) to show more options.
- Select the Exportable Text Area button.
- Enter a Label/heading to display the answers in the exported document.
- The Comments field can be used either to provide prompts OR automated feedback, depending on the display settings chosen.
- To include prompts in the text entry boxes, enter the text for the prompt and click on Always display comments. This will then show as a question mark popup in the corner of the text entry area, as displayed below.
- To automate feedback, ensure Include comments in the exported document is selected, and uncheck Always display comments.
- Click and drag to move or resize the Exportable Text Area on the slide.
- Add instruction to the students noting on the final slide they will be able to download their responses as a Word document by clicking the Export text button.

- Click the Save and display button to view the H5P Course Presentation.
This section of the resource will guide you through using the H5P Course Presentation tool.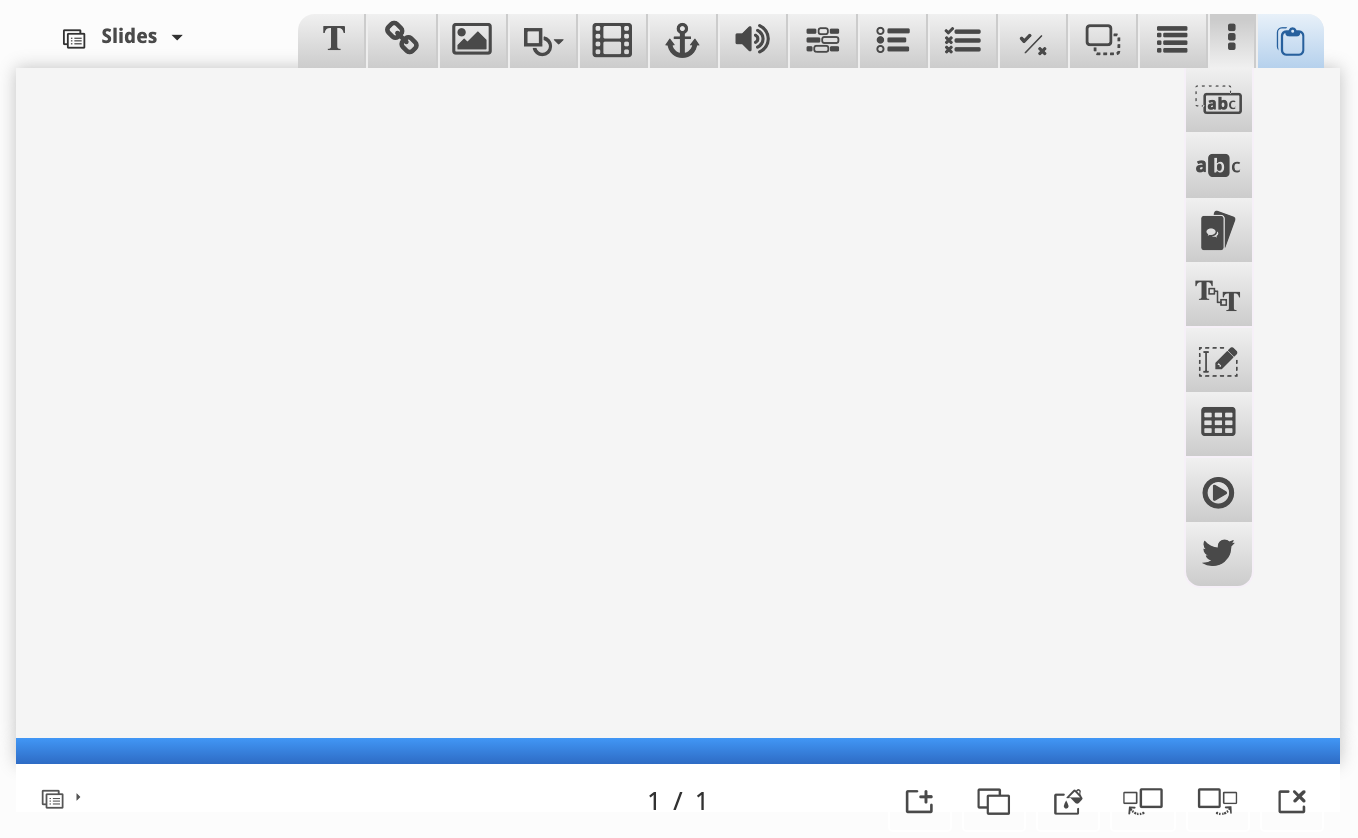
The Slides tab and settings menu
Clicking on the Slides button in the top left of the edit window will open the settings for navigating the Course Presentation.
The top menu
- Adding elements. The following section contains formatting and multimedia options.

From left to right;- Add or format text,
- Add or update a hyperlink,
- Add or update an image,
- Add shapes (square, circle, horizontal or vertical lines),
- Add or update a video,
- Add or update a link to a slide within the H5P Course Presentation,
- Add or update an audio file.
- Adding interactivity. The following section contains the buttons for adding question types and other interactivity.

From left to right:
- Fill in the Blanks
- Single Choice Set
- Multiple Choice
- True/False Question
- Drag and Drop
- Summary
- More elements. This includes other less common, but still useful options including Tables, Interactive Video, Exportable Text (covered later in this article) and more.
- Paste content from the clipboard.
Slide options

From left to right:
- Show or hide the sidebar navigation,
- Current slide / Total slides. In the image above, the Course Presentation is displaying slide 2 of 3,
- Add new slide,
- Clone slide,
- Slide background - please be mindful of colour contrast requirements when selecting background colours and images,
- Move slide left - e.g. move the current slide (slide 2) to become slide 1 in the order,
- Move slide right - e.g. move the current slide (slide 2) to become slide 3,
- Delete slide.
Related information
- Creating an H5P Multiple Choice activity | L&T Hub article
- Creating an H5P Interactive Video activity | L&T Hub article
- Creating an H5P Fill in the Blanks activity | L&T Hub article
- H5P Documentation - H5P Course Presentation tutorial | External resource
- UOW Office Kit available via the intranet | UOW resource


