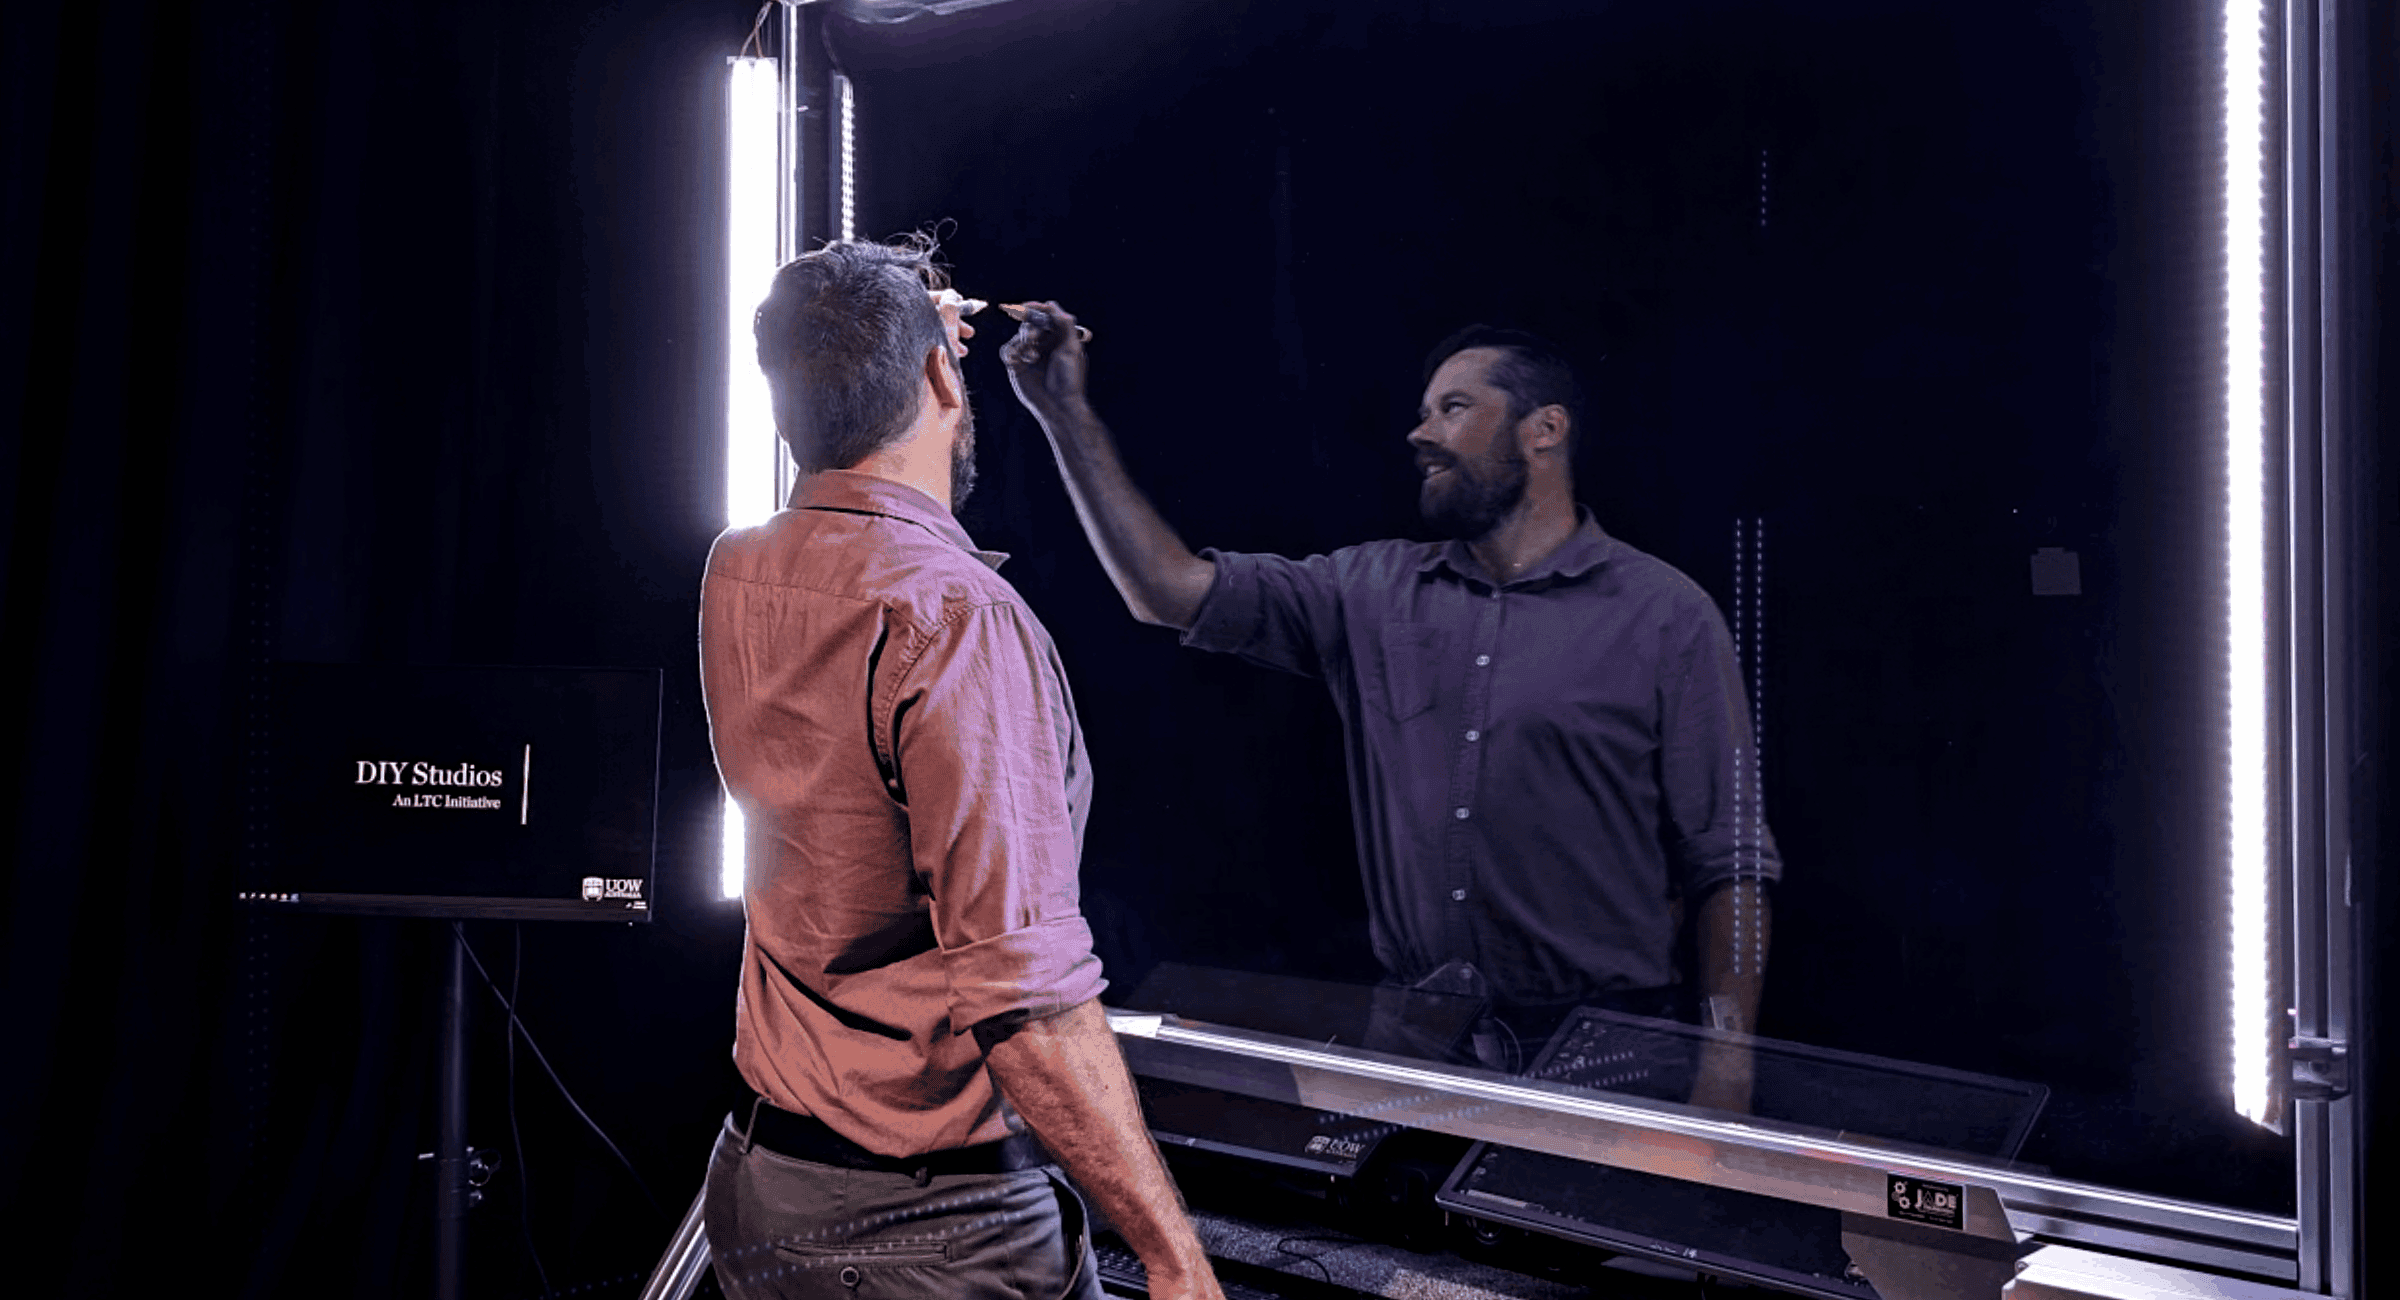
The DIY Lightboard Studio offers an engaging way for educators to demonstrate concepts such as formulas, diagrams, and visual processes on video.
The Lightboard, also known as a Learning Glass or transparent whiteboard, allows educators to face the camera while annotating and explaining a concept to the audience. On screen, it appears as though the educator is writing on the video display.
Speaking directly to the camera while writing or drawing by hand can “establish a stronger social bond between the teacher and learner, causing the learner to try harder to make sense of the instructional message and thereby build a deeper learning outcome" (Mayer, 2020, p. 345).
Lightboard use cases
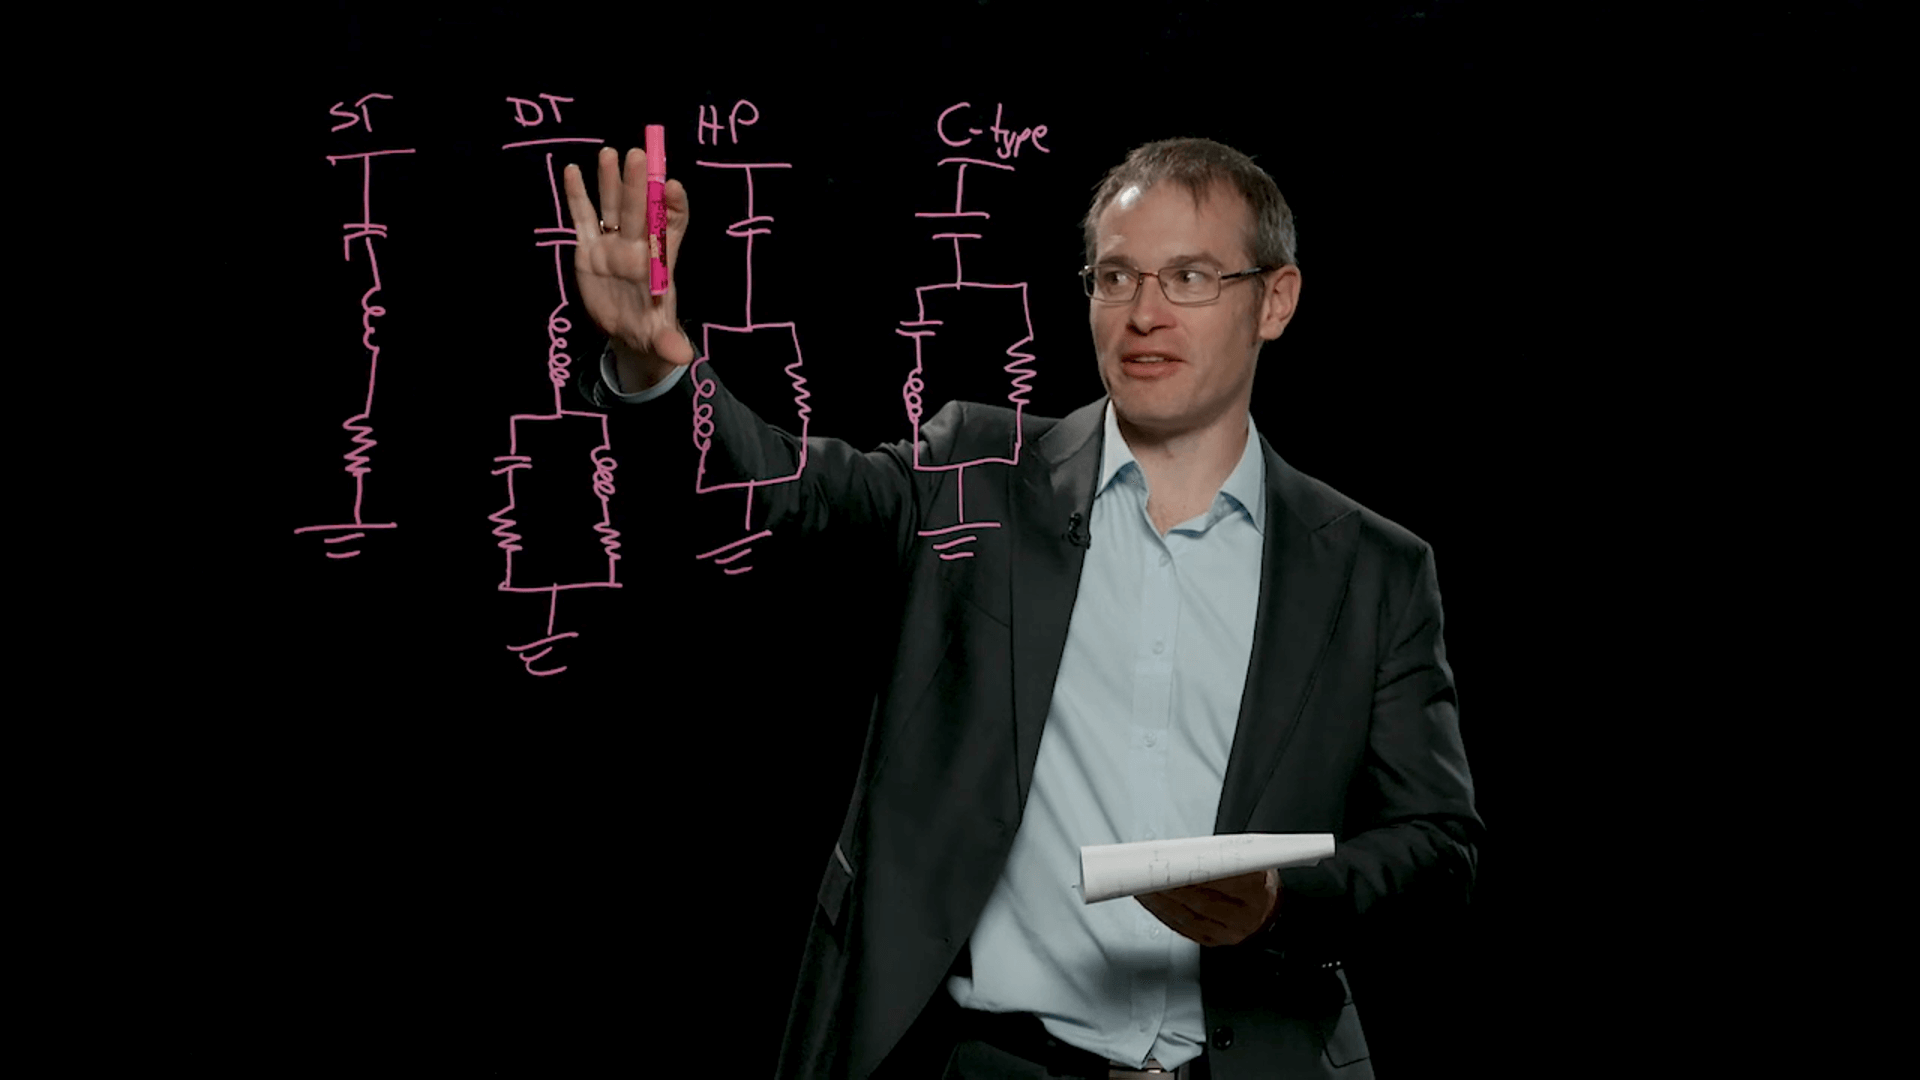
Explaining while drawing and writing
Demonstrate and explain equations, formulas, processes, and diagrams as you draw and write by hand.
.png)
Presenting to camera
Use wide or close-up shots to record a variety of videos for your subject, such as welcome videos, subject overviews, or weekly and modular summaries.

Interacting with slides
Use the provided PowerPoint template to display slides with text, images, or animation during your recording.

Using the Lightboard to record learning material for Physics.
Jackson Allen, from the Faculty of Engineering and Information Sciences, showcases his experience using the Lightboard Studio to create engaging content for his physics subject.
The Lightboard Studio features tools that reduce or remove the need for post-production editing, including:
- easily adding UOW brand elements to the start and end of your video
- previewing framing and practice tips
- switching live between wide and close-up shots
- pausing and resuming recording functionality
- adding pre-created text, graphics, or animations from PowerPoint slides into your video
- exporting your recording to a high-quality MP4 file, ready for upload to platforms such as Echo360
"Students report that videos created using the Lightboard are more engaging than voice over slides. They feel more personal and allow students to watch as the presenter 'thinks' through problems - complete with facial expressions and gestures that only enrich the presentation."
- Caz Sandison | School of mathematics
The studio is located in Building 20.
To enquire about booking the DIY Lightboard studio to record resources to use for teaching, email ed-video@uow.edu.au
On your first booking, you will be given a short induction, covering everything you need to use the studio confidently and ensure your experience is a success.

